

I've never done a baking post before because I was never quite sure what to show you, as we usually bake really easy and quick things on the usual days. However I recently bought myself a new cooking book, as I really want to do more of that. That is what also inspired me to make this recipe, which is inspired by one of the ones in the actual book.
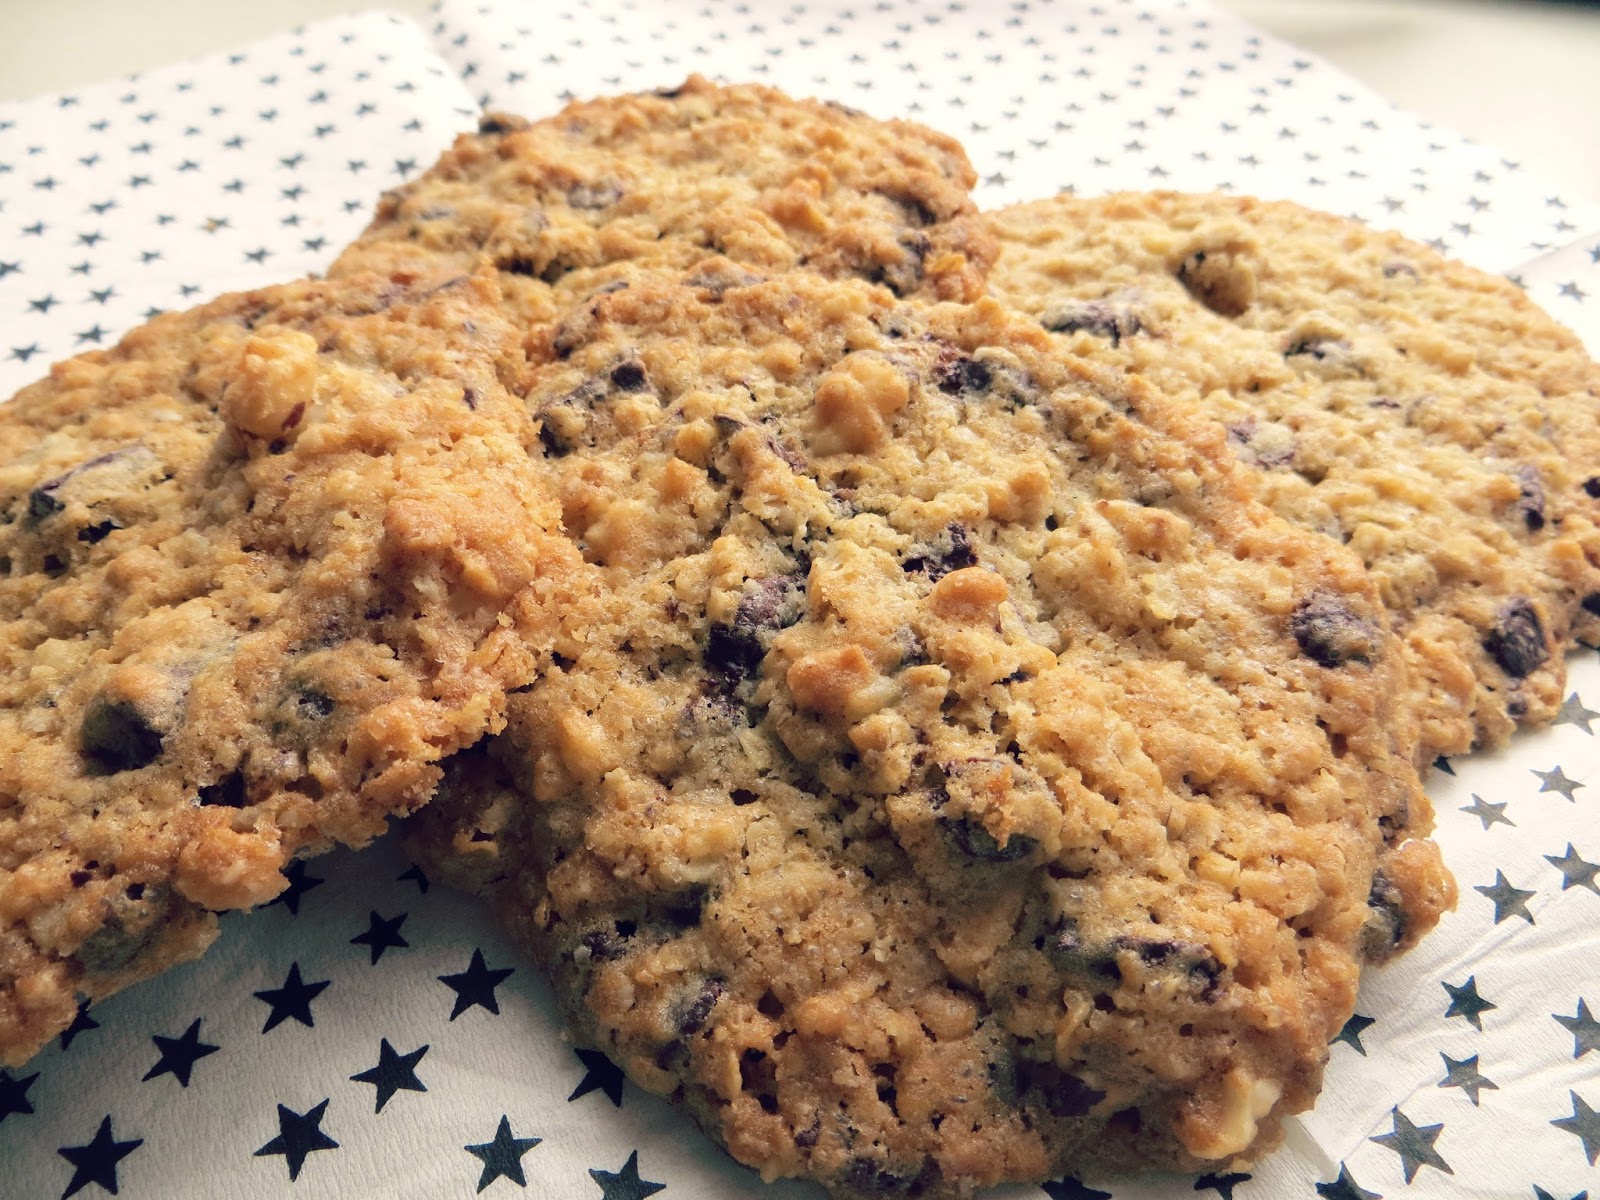
Chocolate-Brazil Nut-Cookies sounded so cool and tasty, but not too exotic, so I thought I would give them a try!
To be completely honest I thought all together they were only around 130 calories if I would have made the complete actual recipe, but it turns out I forgot to read the 'each cookie contains' right next to it...:D *FAIL*. It was already way too late as the cookies were already in the oven, but whatever, they taste soo nice so I'm just not going to care and treat myself to one every once in a while!
They are really easy to make and even my brother and my father who are usually very critical with stuff like that love the recipe, so here's how to make them!


You will need:
- 50g butter
- 50g vegetable fat
- 150g brown sugar
- 1 egg
- 5 drops vanilla flavour
- 1 TBSP milk
- 100g flour
- 100g oats
- 1 TSP baking soda
- 1 pinch of salt
- 175g dark chocolate drops
- 75g crunched brazil nuts
Steps:
1) Mix the butter, egg, sugar, milk, vegetable fat and vanilla flavour with a mixer or Kitchen Aid for at least 3 minutes until it's creamy but still a little fluffy.
2) Mix the oats, the flour, the salt and the baking soda in a different bowl and then add it to the mixture you have made before. Also add the nuts (if you can't find any crashed ones, simply put them into a plastic bag and use something like a food hammer to crash them) and the chocolate drops at this point, and make sure to mix it all well, bevor you either close your bowl with it's lid or with a piece of clingfilm, and leave it in the fridge for at least 30 minutes.
3) Pre-heat the oven to around 180° whilst you put a sheet of baking paper on your tray. Then start making little chunks of dough, best with a spoon or two. Make sure to leave enough space between them as they spread out quite a lot in the oven.
4) Bake the cookies for around 15 minutes, and then let them cool for around another 15 minutes if you still want them to be a little warm and gewy, or longer if you want them to be completely finished.
And now - get baking, and enjoy your cookies! :)
How did you like this different style of blogpost? Do you want more baking and cooking bits on here? Let me know, what you would like to see!
Have a great day! ♥
Love, Jacqueline Xx
No comments:
Post a Comment